
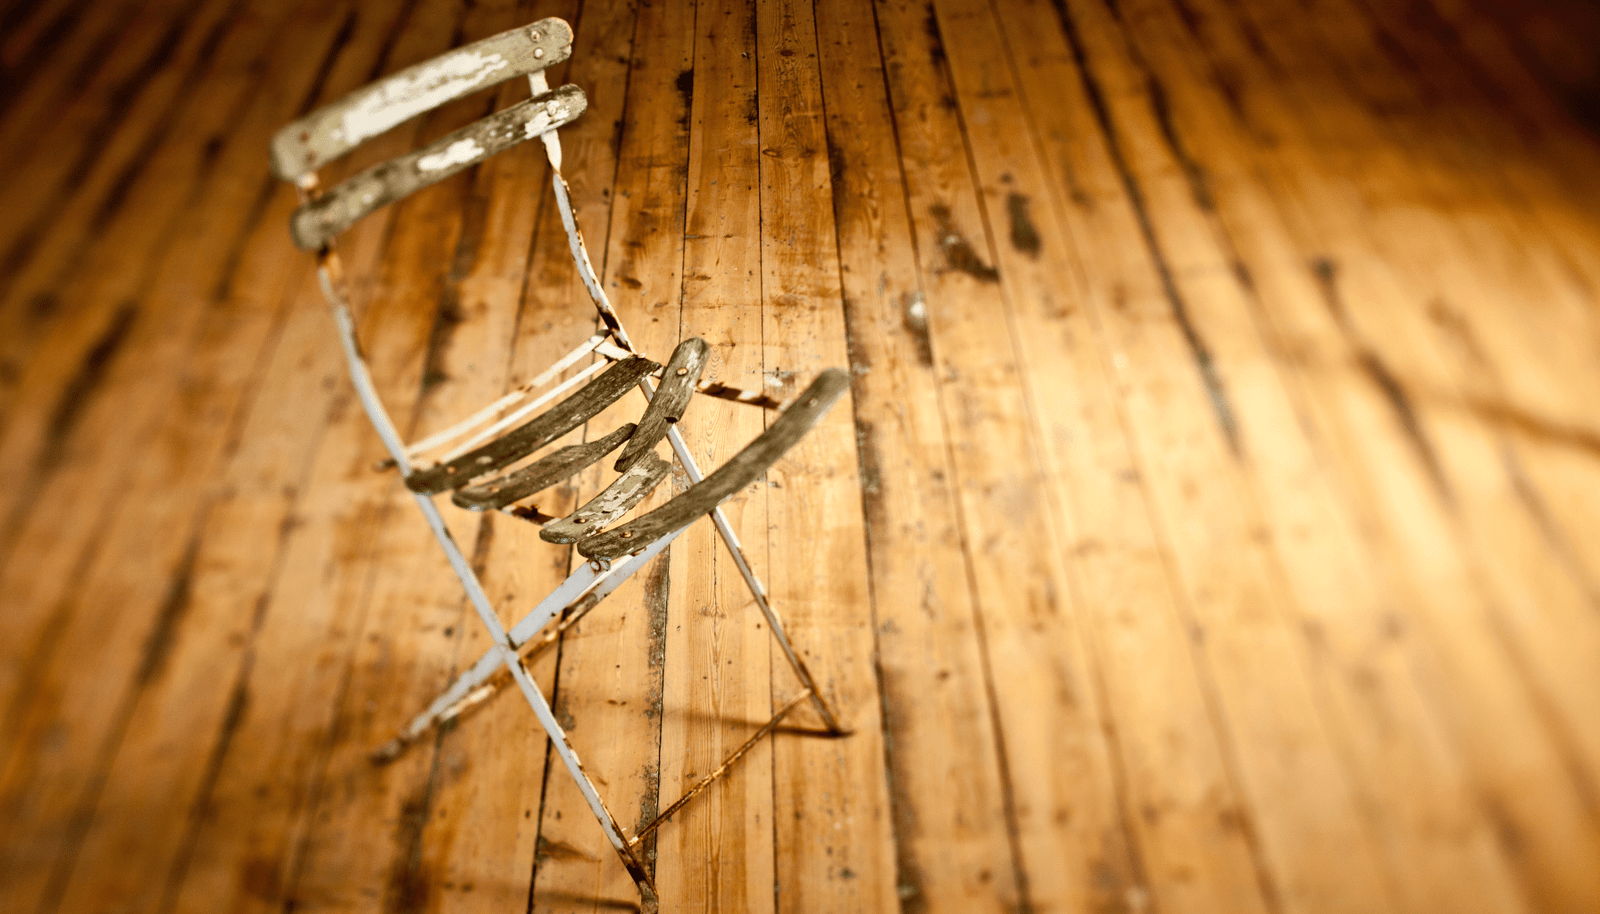
We all have that old, broken chair tucked away in the garage or basement—maybe it’s missing a leg, the seat cushion is worn out, or it’s simply no longer functional. Rather than tossing it out, why not give it a second life by turning it into a functional and stylish storage piece? With a little creativity, a broken chair can be transformed into an eye-catching storage solution that adds both beauty and practicality to your home.
In this detailed guide, we will walk you through the process of turning a broken chair into a functional storage piece. Whether you need extra storage for blankets, shoes, or books, this DIY project is perfect for those who want to create a unique, upcycled storage piece that is both beautiful and practical.
Why Repurpose a Broken Chair?
Before we dive into the steps, let’s take a look at why turning a broken chair into a functional storage piece is a great idea:
- Sustainability: Repurposing a broken chair reduces waste and keeps old furniture out of the landfill. Upcycling is a sustainable way to reuse materials and make something useful again.
- Affordability: Turning a broken chair into a storage piece is an inexpensive way to create new furniture. You don’t need to buy new materials—simply use what you already have and get creative.
- Uniqueness: An upcycled chair storage piece will be one-of-a-kind, adding personality and character to your home. It’s a great way to showcase your DIY skills and creativity.
- Functionality: By adding storage to your broken chair, you’re creating a practical solution that can serve multiple purposes. Whether it’s used for storing shoes, books, or other items, the possibilities are endless.
Materials Needed:
To transform your broken chair into a functional storage piece, gather the following materials:
- Broken Chair: Look for a chair that has a sturdy frame but may be missing parts, such as a broken leg or worn-out seat.
- Wooden Crates or Boxes: These will serve as the storage area beneath the chair.
- Screws and Drill: For attaching the crates or boxes to the chair frame.
- Wood Glue: For reinforcing the joints.
- Sandpaper or Electric Sander: To smooth out rough spots on the chair.
- Paint or Stain: To finish the chair and match your décor.
- Cushion or Fabric (Optional): If you want to add a cushion to the seat or backrest for comfort.
- Measuring Tape and Pencil: For accurate measurements and markings.
Step 1: Assess and Disassemble the Broken Chair
Start by assessing the condition of your broken chair. Depending on the damage, you might need to disassemble the chair and remove any broken pieces.
- Remove the Seat: If the seat is damaged or no longer usable, remove it by unscrewing it from the chair frame. This will give you a clean surface to work with for attaching your storage boxes or crates.
- Check the Frame: If the chair frame is still sturdy but missing a leg or has other imperfections, make sure to assess how you can reinforce or modify it. You might need to replace a broken leg or add extra support to make the chair functional again.
- Clean and Sand the Chair: Once the seat is removed and any broken parts are fixed or removed, clean the chair and use sandpaper or an electric sander to smooth any rough areas or splinters. If you want to keep the natural wood look, lightly sand the chair to prepare it for staining or painting.
Step 2: Add Storage to the Chair
Now that the frame is prepared, it’s time to add storage. Wooden crates or boxes are perfect for this part of the project as they can be easily attached to the chair frame and provide plenty of storage space.
- Choose Your Storage Pieces: Depending on the size of the chair, you can use one or two wooden crates, a storage box, or even repurpose old drawers. Make sure the storage pieces fit comfortably under the seat area of the chair.
- Prepare the Storage Pieces: If needed, sand the edges of the crates or boxes to ensure they fit well and are smooth to the touch. If you want, you can paint or stain the crates to match the chair or your home décor.
- Attach the Storage to the Chair Frame: Position the storage pieces under the chair’s seat area. Use screws and a drill to secure the crates or boxes to the chair frame. Be sure that the crates are level and centered before screwing them into place. You can add extra wood glue to reinforce the joints for added stability.
Tip: If you prefer a more open storage space, leave the front of the crate exposed for easy access. If you want a more enclosed storage solution, attach a piece of fabric or a hinged lid to the crate to cover the opening.
Step 3: Reinforce and Secure the Chair
Once the storage pieces are attached to the chair, it’s time to ensure that everything is securely in place.
- Reinforce the Frame: If the chair frame feels weak or unstable, add extra supports. You can attach wooden slats or metal brackets to reinforce the structure. This is especially important if the chair was originally missing a leg or part of the frame.
- Check the Storage: Ensure that the storage pieces are firmly attached and will not shift or fall. If necessary, add more screws or wood glue to ensure the storage is stable and secure.
- Add Legs (If Needed): If your chair is missing a leg, or if you want to raise the storage off the ground, you can add new legs. Repurpose legs from other furniture or buy pre-made wooden or metal legs. Attach the legs to the base of the chair using screws and a drill.
Step 4: Sand and Finish the Chair
Now that the storage is securely attached and the chair frame is reinforced, it’s time to finish the chair.
- Sand the Chair: Use sandpaper or a sander to smooth out any rough areas, especially where you’ve made cuts or added attachments. Sand the entire chair to give it a uniform finish.
- Stain or Paint: Depending on your design preference, you can either stain or paint the chair to match your décor. If you prefer a rustic look, consider staining the wood to highlight its natural grain. For a more contemporary or industrial feel, you can paint the chair in a bold color or a neutral shade.
- Apply a Protective Finish: To protect the chair and storage from scratches, spills, and wear, apply a clear polyurethane or varnish finish. This will create a durable, long-lasting surface.
Step 5: Add Cushions or Fabric (Optional)
If you want to make the chair more comfortable, consider adding a cushion or fabric to the seat.
- Cushion or Foam: Measure the seat area of the chair and cut a piece of foam or padding to fit. You can cover the foam with fabric that complements your chair’s design. Use a staple gun to secure the fabric to the underside of the seat.
- Decorative Fabric: If you prefer, you can also add fabric to the backrest or sides of the chair for added comfort and style. Use a durable fabric that matches your home décor and staple it tightly to the frame.
Step 6: Style Your Chair Storage Piece
Once the chair is complete, it’s time to place it in your home and style it!
- Storage: Use the storage area to organize books, shoes, blankets, or other items. This repurposed chair can serve as a practical and stylish storage solution for any room in the house.
- Decorative Touches: Add decorative touches such as pillows, throws, or a small table next to the chair to enhance its look. Place it in your living room, hallway, entryway, or bedroom for added functionality.
Conclusion
Turning a broken chair into a functional storage piece is a creative and rewarding DIY project that helps you recycle an old item while adding a unique and practical piece of furniture to your home. Whether you’re using the storage for shoes, books, or other items, this upcycled chair will serve as both a functional and decorative addition to your space.
By following the steps in this guide, you can create a one-of-a-kind storage piece that showcases your DIY skills and reflects your personal style. Enjoy the process, and take pride in transforming a broken chair into something beautiful and useful!