
Home is where comfort, style, and self-expression meet—but redecorating can feel like a daunting financial challenge. Fortunately, you don’t need thousands of dollars or a professional designer to refresh your space. With upcycled furniture and a bit of creativity, you can completely transform your home on a budget.
Upcycling isn’t just a trend—it’s a mindset. It’s about seeing potential in what already exists and reimagining it for your lifestyle. This guide will walk you through practical, budget-friendly ways to redecorate your home using upcycled furniture, with room-by-room inspiration, smart sourcing tips, and DIY ideas you can start today.
What Is Upcycled Furniture?
Upcycling is the process of taking old or discarded furniture and giving it a new purpose, design, or life—usually through repair, reimagining, or decorative enhancements. It differs from recycling in that you’re not breaking the item down into raw materials, but elevating its form and function.
For example:
- A weathered door becomes a rustic dining table.
- An outdated dresser becomes a modern TV console.
- A ladder transforms into a bookshelf.
Upcycled furniture is affordable, sustainable, and highly customizable—making it perfect for budget redecorating.
Why Upcycling is Ideal for Redecorating on a Budget
1. Save Big on Furniture Costs
New furniture can quickly eat up your budget. A new coffee table might cost $300; an upcycled one? Maybe $20 or even free.
2. Custom Look for Less
Instead of settling for generic pieces from big-box stores, upcycled furniture allows you to create truly one-of-a-kind designs that match your personal style.
3. Eco-Friendly Impact
By keeping furniture out of landfills and avoiding new manufacturing, you reduce your ecological footprint—and often work with more durable, quality materials than what’s found in mass production.
Step-by-Step: How to Start Redecorating with Upcycled Furniture
Step 1: Assess Your Current Space and Needs
Before you dive into DIY mode or hit the thrift shops, take a walk through your home.
Ask yourself:
- Which rooms feel outdated or cluttered?
- What pieces of furniture do I already own that could be refreshed or repurposed?
- What furniture functions are missing (extra seating, storage, workspace)?
Make a list of priority areas and furniture types you want to focus on.
Step 2: Set a Clear Budget
Even though upcycling is cost-effective, materials and tools can add up. Set a monthly or total redecorating budget and stick to it.
Break down your budget like this:
- Furniture pieces (thrifted, curbside, etc.)
- Paint and tools
- Fabric or hardware
- Delivery or transport (if needed)
Tip: Track every purchase—it helps prevent overspending and shows just how much you’re saving.
Step 3: Source Furniture to Upcycle
Here’s where the fun begins. Start by checking your own home or garage. Then branch out to these top sources:
Curbside Finds
People leave unwanted furniture out for free regularly. Look around during bulk trash pickup or post-holiday cleanup.
Facebook Marketplace and Craigslist
Search daily using terms like “free furniture,” “DIY project,” or “needs gone.” Be quick and polite in messaging.
Thrift Stores and ReStores
Goodwill, Salvation Army, and Habitat for Humanity ReStores are treasure troves of inexpensive furniture with tons of potential.
Yard Sales and Estate Sales
Bring cash and be ready to negotiate. Many sellers are eager to get rid of large pieces for cheap.
Swap Groups and Community Boards
Join Freecycle or neighborhood Facebook groups where locals offer items for free or trade.
Easy, Low-Cost Upcycling Projects for Every Room
Living Room
Coffee Table from a Pallet or Crate
Wooden pallets are sturdy and often free. Sand them down, add casters or hairpin legs, and seal with varnish.
TV Console from a Dresser
Remove top drawers, reinforce the structure, and repaint. Add baskets or bins for extra storage.
Bookshelves from Crates or Old Cabinets
Stack and screw together old wine crates or refinish cabinets to serve as open shelving units.
Accent Chairs
Find outdated chairs with strong frames. Clean, paint, and reupholster for a budget-friendly focal point.
Kitchen and Dining Room
Dining Table from Salvaged Wood
Build a tabletop from reclaimed wood and mount it on repurposed legs or metal frames.
Mismatched Chairs Made Cohesive
Thrift different wooden chairs and unify them with paint or matching seat cushions.
Bar Cart from an Old Side Table
Repaint, add wheels, and install a towel bar or wine glass rack for a stylish, functional cart.
Storage Bench from an Old Trunk
Cushion the top of a vintage trunk for seating and use the interior for hidden kitchen storage.
Bedroom
Nightstands from Old Stools
Paint or stain a pair of sturdy stools and add a decorative tray or drawer on top.
Headboard from Old Doors
Mount a repainted vintage door horizontally behind the bed for a rustic or boho effect.
Dresser Makeovers
Swap knobs, apply paint or wallpaper to drawers, and line interiors with contact paper.
Vanity from a Writing Desk
Convert a simple desk into a makeup station with a mounted mirror and drawer organizers.
Bathroom
Shelving from Old Ladders
Lean a wooden ladder against the wall for towel or basket storage. Seal against moisture.
Vanity from a Dresser
Cut a hole in the top for a sink basin, reinforce the structure, and waterproof with varnish.
Mirror Frame from Window Panes
Use an old window as a frame for mirrors. Paint or distress it for added style.
Entryway and Hallways
Shoe Rack from Crates
Stack painted crates for a simple, rustic shoe storage solution.
Wall Hooks from Drawer Fronts
Use old drawer fronts or planks of wood to mount hooks for coats, bags, or keys.
Console Table from Half a Table
Split a damaged dining table in two, mount half against the wall, and add floating shelves above.
Design Tips for Making It All Work
Upcycled furniture doesn’t mean chaotic design. Here’s how to make your redecorated home look intentional and polished.
Stick to a Style Theme
Pick a unifying style such as:
- Modern farmhouse (wood, white, iron)
- Industrial (metal, wood, dark tones)
- Boho chic (rattan, plants, earthy colors)
- Minimalist (neutral colors, clean lines)
Apply this aesthetic to paint colors, textures, and decorative accents.
Use Color Strategically
Repainting mismatched items in a cohesive color palette can unify a room. Don’t be afraid of bold accents, but balance them with neutral backdrops.
Combine Textures
Mix wood, metal, glass, and textiles for visual interest. A repurposed wood coffee table with a metal tray and woven rug adds depth and charm.
Layer Decor Elements
Use rugs, throws, wall art, and plants to make spaces feel warm and inviting—even with minimal spending.
Common Mistakes to Avoid
Even with the best intentions, there are a few pitfalls to watch for when redecorating with upcycled furniture:
1. Taking on Too Many Projects at Once
Stick to one project or room at a time. Overcommitting can lead to burnout and unfinished work.
2. Ignoring Practical Needs
Don’t prioritize style over function. Make sure each piece suits your lifestyle and fits the space.
3. Skipping Preparation Steps
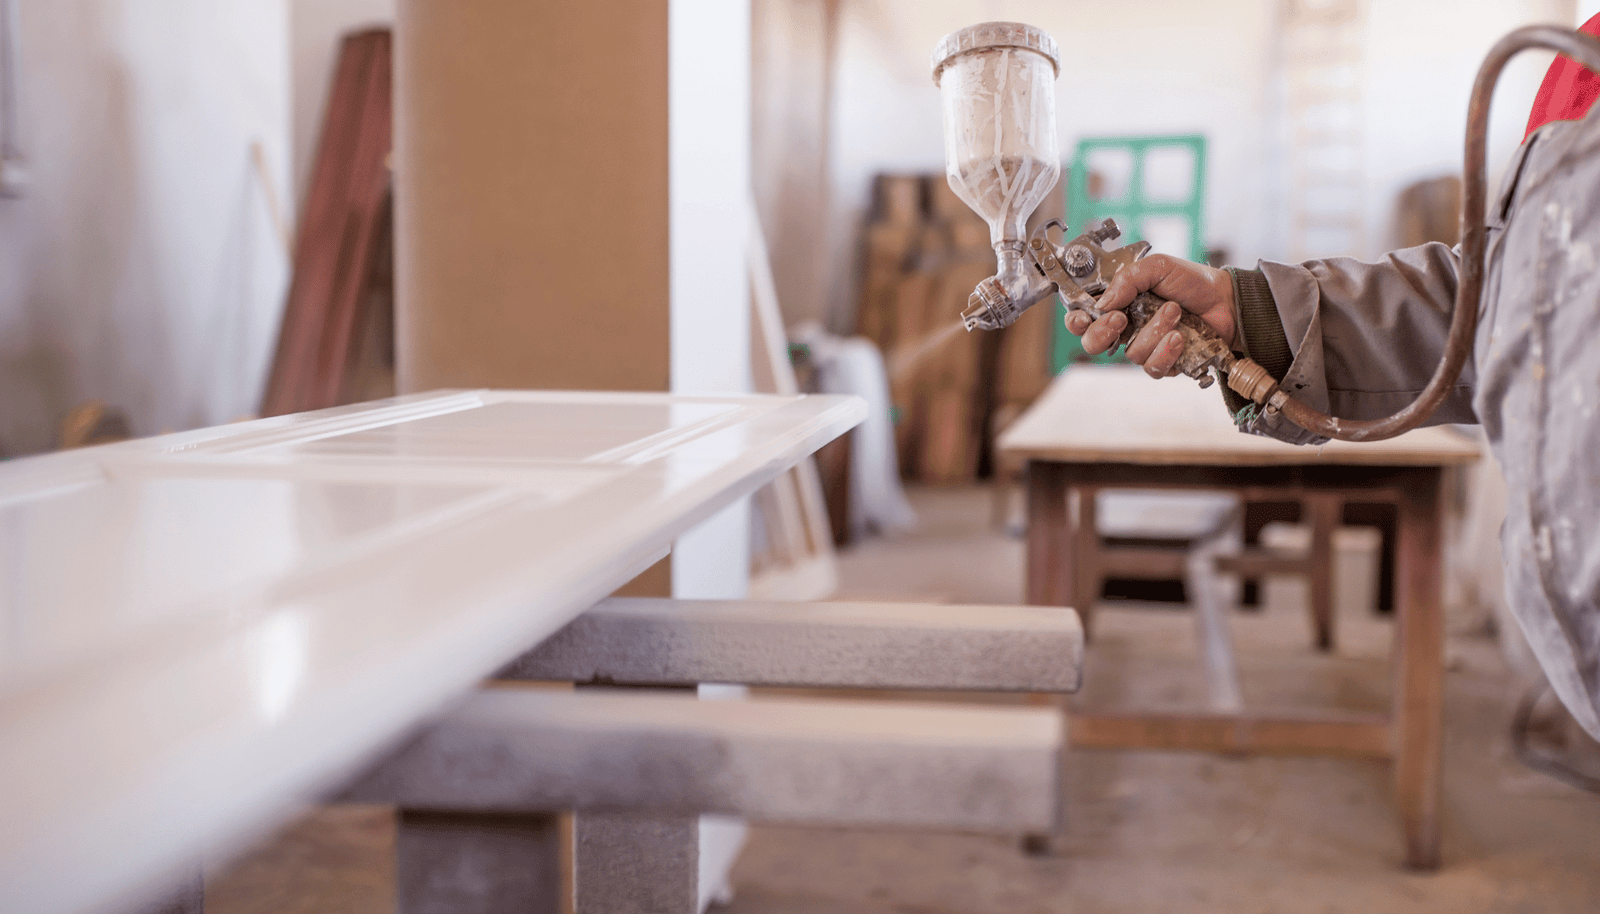
Always clean, sand, and prime furniture before painting. Proper prep ensures durability and quality.
4. Using the Wrong Paint or Materials
Use furniture-grade paint and sealants, especially for pieces that see heavy use or exposure to moisture.
5. Letting Budget Control the Vision Too Much
While saving money is the goal, don’t buy something just because it’s cheap. Focus on pieces that truly enhance your space.
Final Thoughts: Redecorating With Purpose
Redecorating your home doesn’t have to mean buying new. In fact, some of the most stylish and meaningful interiors come from resourcefulness, not retail therapy. Upcycled furniture is more than a budget hack—it’s a creative, eco-conscious way to build a home that reflects your values and taste.
With each piece you rescue, refinish, or reimagine, you not only save money—you tell a story. And over time, those stories combine into a home that’s layered with history, personality, and charm.
So grab a paintbrush, open your mind to possibility, and start the journey of transforming your space—one budget-friendly piece at a time.