
Old windows are often discarded and forgotten, but they can be transformed into beautiful, functional pieces of art and furniture with just a little creativity and effort. Repurposing old windows into stunning wall art or furniture is a wonderful way to breathe new life into something that would otherwise go to waste, and it’s a project that adds both charm and personality to your home.
From creating rustic wall décor to crafting unique tables and shelving units, old windows offer endless possibilities for upcycling. In this article, we will explore how you can use old windows to create stunning wall art and furniture pieces, providing you with step-by-step instructions, tips, and ideas to guide you through the process.
Why Use Old Windows for DIY Projects?
Before diving into the projects, it’s worth understanding why using old windows for DIY furniture and wall art is such a great idea. Here are some reasons why old windows are a perfect material for upcycling:
- Sustainability: Repurposing old windows reduces waste and prevents these materials from ending up in landfills. By reusing windows, you’re contributing to a more sustainable lifestyle and helping to preserve the environment.
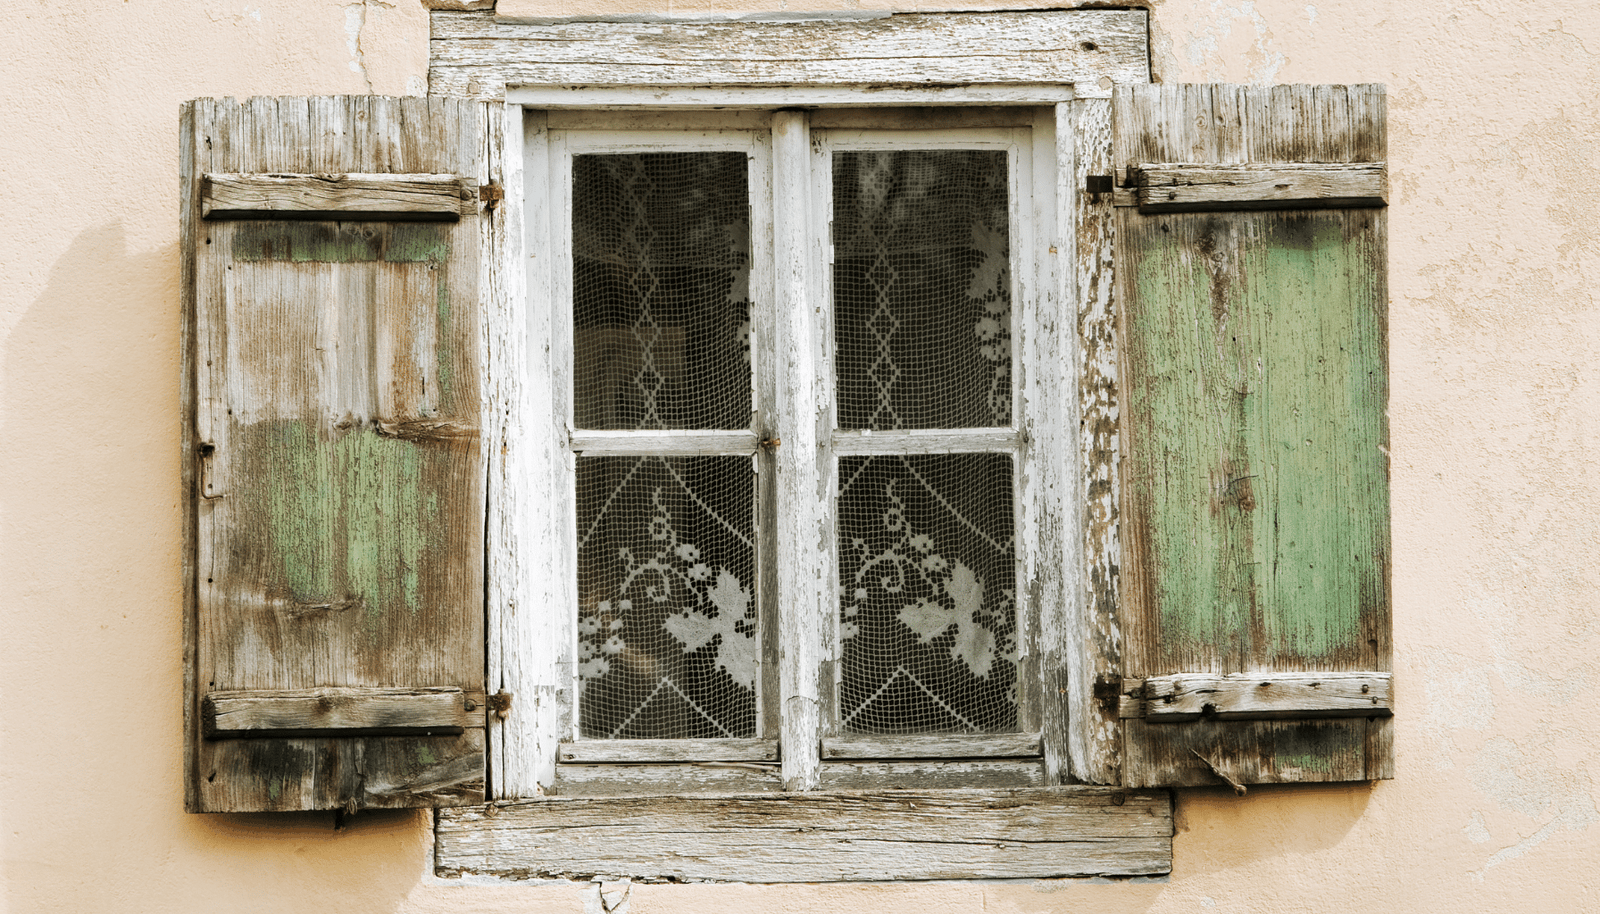
- Character and Charm: Old windows often come with a weathered look, unique details, and a story. These characteristics can add depth and charm to your home décor, giving your space a one-of-a-kind, rustic, vintage feel that mass-produced items cannot replicate.
- Cost-Effective: Old windows are often free or very inexpensive, especially if you find them at salvage yards, flea markets, or even on the side of the road. This makes them a budget-friendly option for DIY projects, allowing you to create beautiful, high-quality pieces without breaking the bank.
- Durability: Windows, especially older ones made of solid wood or metal, are incredibly durable. When repurposed, they can last for many years, making them a great long-term investment for your home.
- Versatility: Old windows can be used in a variety of ways, from creating wall art to functional furniture like tables, mirrors, and shelving units. The possibilities are limited only by your creativity.
Now that we understand why using old windows is a great choice, let’s explore some creative ideas for turning them into stunning wall art and furniture.
1. Old Window Wall Art: Adding Character to Your Walls
One of the most popular ways to repurpose old windows is by turning them into beautiful wall art. These window frames can be painted, stained, or decorated to create stunning pieces that serve as focal points in your home. Here are a few ideas for how to transform an old window into captivating wall art.
Materials Needed:
- 1 old window frame (with or without glass)
- Sandpaper or an electric sander
- Paint or wood stain (optional)
- Paintbrushes or spray paint
- Decorative elements (e.g., fabric, lace, photos, mirrors, or plants)
- Nails and a hammer (for hanging)
- Optional: Small mirrors (for a mirror window frame)
Steps for Creating Old Window Wall Art:
- Clean and Prep the Window Frame:
Start by cleaning the window frame thoroughly. If it has old paint or dirt, use sandpaper or a sander to smooth out the surface and remove any flaking paint. If the glass panes are intact, you can leave them as is or remove them for a different look. - Decide on the Design:
The design of your window frame wall art will depend on your personal style and what kind of look you want to achieve. Here are a few options:- Rustic Vintage: Sand the window frame down to expose the wood and give it a weathered look. Apply a wood stain or leave it raw for a more rustic appearance. You can also use old newspaper, fabric, or lace inside the window panes to add texture and design.
- Photo Frame: Replace the glass panes with a photo or image behind each section. You can add multiple small photos or even artwork inside each pane to create a unique collage.
- Mirror Frame: You can replace the glass with mirrors to create a beautiful, vintage-style mirror. This is perfect for smaller spaces, like bathrooms or entryways.
- Shabby Chic: Paint the window frame in a pastel color or apply a distressed finish for a shabby chic look. You can then add lace or burlap behind the panes to enhance the vintage vibe.
- Add Decorative Elements:
Once the window frame is prepped and painted, it’s time to add decorative elements. You can get creative with this step:- For a photo frame, print and trim your favorite pictures to fit behind the glass panes.
- If you’re creating a mirror frame, attach small mirrors to the back of each pane.
- For a more botanical look, place artificial plants or flowers in each section of the frame.
- Hang the Window Frame:
Once your window art is complete, hang it on the wall using nails or picture hangers. Be sure to use strong hanging hardware, especially if the window frame is heavy.
Tip: If the window is too large for one wall, consider cutting it into smaller sections and hanging them as a triptych or a grid of smaller frames.
This upcycled window art is perfect for adding charm to your living room, bedroom, or hallway. It’s a timeless piece that brings a touch of vintage beauty to any space.
2. Old Window Coffee Table: A Rustic, Functional Piece
An old window can also be transformed into a stunning coffee table. By combining the rustic beauty of the window frame with a sturdy base, you can create a functional and stylish piece of furniture for your living room. This project is perfect for those who love rustic, industrial, or vintage décor.
Materials Needed:
- 1 old window frame (with or without glass)
- Sandpaper or electric sander
- Paint or wood stain (optional)
- Coffee table legs or a wooden base (or repurpose an old table)
- Glass or plywood (for the table surface)
- Screws and a drill
Steps for Creating an Old Window Coffee Table:
- Prepare the Window Frame:
Clean and sand the window frame to remove any dirt, old paint, or imperfections. If you want a distressed look, you can sand down the edges to expose the wood and give it a worn, vintage feel. If the window has glass panes, you can leave them as is or remove them for a different look. - Add a Table Base:
To turn the window into a coffee table, you’ll need to add legs or a base. You can repurpose old table legs or buy new metal or wooden legs from a hardware store. If you want to create a rustic feel, consider using a wooden base made from reclaimed wood. - Attach the Glass or Plywood Surface:
The next step is to add the surface of the table. You can use a large piece of glass to fit over the window frame, creating a sleek and modern look, or use plywood to create a more rustic feel. If you choose plywood, you can paint or stain it to match the window frame. - Secure the Pieces Together:
Once the frame, legs, and surface are in place, secure them using screws. Make sure everything is tightly fastened, and the surface is level and stable. - Finishing Touches:
Once the coffee table is assembled, you can add additional decorative elements to enhance its look. You might want to add a protective varnish to the table’s surface, or you can leave it raw for a more natural look. You can also add some small decorative items on the table, such as books, candles, or a vase.
This window coffee table is a unique and functional piece that brings both vintage and industrial charm to your living room. It’s a great way to showcase an old window and turn it into something both beautiful and practical.
3. Old Window Mirror Frame: A Timeless Addition to Any Room
An old window can easily be turned into a stunning mirror frame. This project is a simple and effective way to create a statement piece for your home, especially in spaces where you need a mirror but want something with character and charm.
Materials Needed:
- 1 old window frame (with glass)
- Mirror cut to size (you can have this custom-cut at a local glass shop)
- Mirror adhesive or glue
- Sandpaper or electric sander
- Paint or wood stain (optional)
- Decorative trim (optional)
Steps for Creating an Old Window Mirror:
- Prepare the Window Frame:
Clean and sand the window frame to remove any dirt and smooth out rough spots. If you want a vintage, distressed look, use a light sanding technique to create a worn appearance. You can also paint or stain the frame to match your décor. - Measure and Cut the Mirror:
Measure the size of the window pane and have a mirror cut to fit. Take the window frame to a local glass shop where they can cut a mirror to your specifications. Alternatively, you can buy pre-cut mirrors that fit your window. - Attach the Mirror:
Once the mirror is cut, use mirror adhesive or glue to attach it to the back of the window frame. Be sure to apply enough adhesive to secure the mirror in place, and allow it to dry completely. - Finishing Touches:
If desired, you can add decorative trim around the edge of the window frame to give it a more polished and finished look. You can use wood trim, metal, or even a decorative molding depending on your style. - Hanging the Mirror:
Once everything is dry and secure, hang the mirror on your wall. Be sure to use sturdy picture hangers or nails, especially if the window frame is heavy.
This upcycled window mirror is a beautiful addition to any room, adding light, depth, and character to your home.
4. Old Window Shelf or Storage Unit
An old window frame can also be turned into a functional storage unit or shelf. By adding some shelves and brackets, you can create a stylish storage solution for books, plants, or other decorative items.
Materials Needed:
- 1 old window frame
- Sandpaper or electric sander
- Paint or wood stain (optional)
- Shelf brackets or wooden supports
- Wooden shelves or glass (for the shelves)
Steps for Creating an Old Window Shelf:
- Prepare the Window Frame:
Clean and sand the window frame, removing any dirt or imperfections. If you want a more rustic look, you can leave the frame in its natural state. Alternatively, you can paint or stain the wood to give it a fresh look. - Add Shelves:
Measure and cut shelves to fit within the window frame. You can use wooden planks, glass shelves, or even repurpose old wood to create the shelves. Secure the shelves inside the window frame using brackets or shelf supports. - Secure the Frame:
Once the shelves are in place, secure the window frame to the wall using screws or hanging hardware. Make sure the frame is level and firmly attached to the wall to ensure the safety of the storage unit. - Finishing Touches:
Add decorative items to your new shelf, such as books, plants, or small trinkets. The window frame will add a vintage and charming touch to your storage solution.
Conclusion
Using old windows to create stunning wall art and furniture is a fantastic way to upcycle and reduce waste while adding personality and style to your home. Whether you’re transforming an old window into a piece of art, a coffee table, a mirror, or a shelf, the possibilities are endless. Not only will you have unique and one-of-a-kind pieces, but you’ll also be contributing to sustainability by repurposing materials that would otherwise be discarded.
So, the next time you come across an old window, don’t throw it away—get creative and transform it into something beautiful for your home!