
Upcycling glass bottles into light fixtures is an innovative and stylish way to create unique lighting for your home. Whether you’re aiming for a rustic, industrial, or contemporary look, glass bottles can be transformed into beautiful pendant lights, chandeliers, or table lamps. Not only is this project eco-friendly, but it also allows you to customize your light fixtures to suit your home décor.
In this article, we will guide you through the steps to turn old glass bottles into chic light fixtures that add character, charm, and functionality to your space. We’ll explore different types of light fixtures you can create and how to incorporate your personal style into each project.
Why Use Glass Bottles for Lighting?
Before we get into the how-to, let’s explore why glass bottles make such a great material for light fixtures:
- Eco-Friendly: Glass bottles are typically discarded after use, but by upcycling them into light fixtures, you’re helping to reduce waste and promote sustainability. Instead of purchasing new lighting, you’re giving an old bottle a second life, contributing to a more environmentally conscious lifestyle.
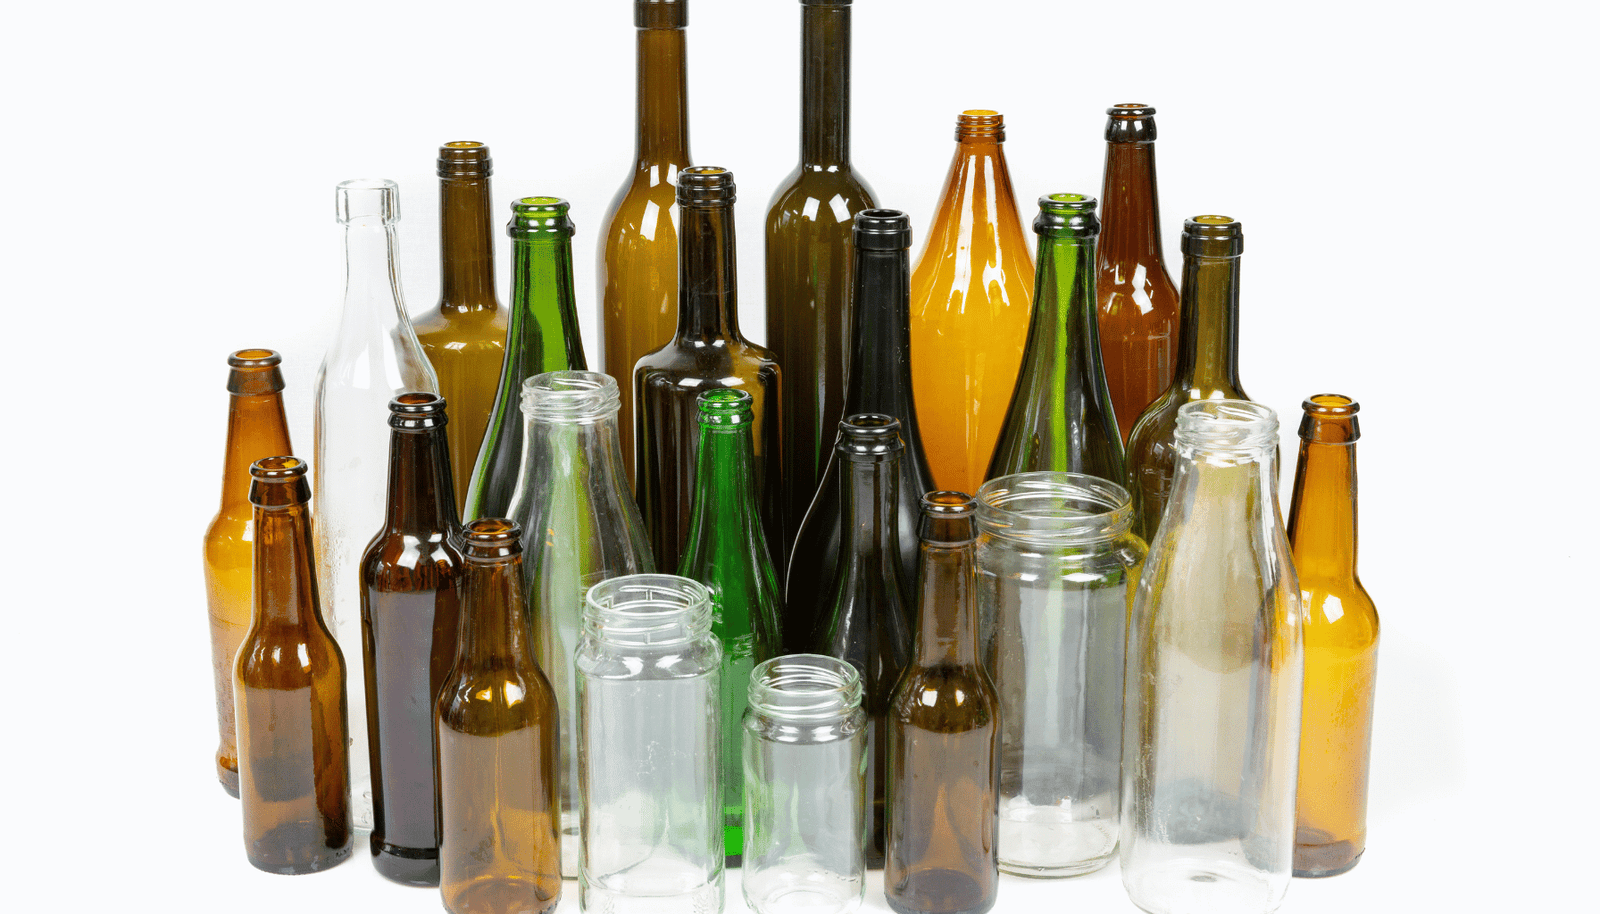
- Customizable: Glass bottles come in various shapes, sizes, and colors, making them perfect for customization. Whether you choose clear, colored, or frosted glass, you can easily tailor the lighting to match the theme of your room.
- Unique Aesthetic: Glass bottle light fixtures offer a distinctive and personalized touch that mass-produced lighting can’t match. The transparency of the glass allows the light to shine through, creating a warm, inviting atmosphere while showcasing the beauty of the bottle’s design.
- Cost-Effective: Upcycling glass bottles into light fixtures is an affordable way to add designer-style lighting to your home. Many people already have old bottles on hand, making this project an inexpensive and creative way to update your space.
Now that you know why glass bottles are a great option for lighting, let’s look at some ideas for how to turn them into functional and beautiful light fixtures.
1. Pendant Lights from Glass Bottles
Pendant lights are a popular and versatile lighting option that can add a modern or industrial touch to any room. By transforming glass bottles into pendant lights, you can create a chic and unique focal point for your kitchen, dining room, or living room.
Materials Needed:
- Glass bottles (your choice of color and size)
- Pendant light kits (can be purchased at home improvement stores)
- Drill with a glass bit
- Sandpaper or a glass file
- Pendant light cords and bulbs
Steps:
- Select Your Bottles: Choose glass bottles that will complement your room’s décor. You can use wine bottles, mason jars, or any other glass container that appeals to you. Clean the bottles thoroughly and remove any labels.
- Drill a Hole: Using a drill with a glass bit, carefully drill a hole into the bottom of each glass bottle. This hole will allow you to run the electrical cord through the bottle. Take your time with this step, as glass can be delicate, and make sure the hole is large enough to accommodate the cord.
- Smooth the Edges: After drilling, use sandpaper or a glass file to smooth out any rough edges around the hole. This ensures that the edges are safe to handle and that the electrical cord won’t get damaged.
- Attach the Pendant Kit: Insert the pendant light cord through the hole and secure it in place according to the instructions provided with the pendant kit. Be sure the light bulb socket is firmly attached and that the bottle is securely hanging.
- Install the Pendant Lights: Once the light fixtures are ready, install them in your desired location. If you’re installing multiple pendant lights, you can create a cluster of different-sized glass bottles for an eclectic look. Hang the lights at varying heights for added visual interest.
These DIY pendant lights can be a stunning addition to your home, and the glass bottles will provide a soft, warm glow that creates a welcoming atmosphere.
2. Glass Bottle Chandeliers: A Dramatic Statement Piece
A glass bottle chandelier can be a bold statement piece in any room, adding elegance and character to your space. This project is perfect for those who want to make a dramatic impact with their lighting. Whether you choose to use colorful bottles or a mix of clear glass bottles, this chandelier will undoubtedly become a conversation starter.
Materials Needed:
- Several glass bottles (size and shape can vary)
- Chandelier light kit or socket cluster
- Electrical wiring
- Drill with a glass bit
- Sandpaper or glass file
- Hanging chain (optional)
Steps:
- Prepare the Bottles: Choose a variety of glass bottles with unique shapes and sizes. Clean them thoroughly and remove any labels or stickers. Depending on your design, you may want to use bottles of different colors to add a pop of vibrancy to the chandelier.
- Drill Holes: Carefully drill holes into the bottoms of each bottle to fit the electrical wiring. The holes should be large enough to pass the wires through but small enough to keep the bottle securely in place.
- Attach the Bottles: Once the bottles have holes, you can begin attaching them to the chandelier light kit. If you’re using a socket cluster, thread the wiring through the holes in the bottles. Secure the bottles to the wiring, ensuring that the wires are tightly fixed in place.
- Mount the Chandelier: Once all the bottles are attached to the wiring, you can mount the chandelier to the ceiling. You can hang it directly from the ceiling with a hook or use a chain for a more industrial or rustic look. Make sure the fixture is securely fastened and that the bottles are evenly spaced.
- Add Bulbs: Finally, screw in the light bulbs, and test the chandelier to ensure that it’s working correctly. You can experiment with different bulb types, such as Edison bulbs, for a vintage or industrial feel.
This DIY chandelier is perfect for a dining room, living room, or entryway and will create a stunning focal point in your home.
3. Table Lamp from Glass Bottles
If you’re looking for a smaller-scale lighting project, a table lamp made from a glass bottle can add a touch of personality and charm to your nightstand, side table, or desk. Glass bottles can be easily transformed into stylish table lamps that add both light and character to any space.
Materials Needed:
- Glass bottle (choose a design that fits your style)
- Lamp kit (including lamp socket, cord, and bulb holder)
- Lamp base (optional, or you can use the bottle as the base)
- Drill with a glass bit
- Sandpaper or glass file
Steps:
- Choose the Bottle: Select a glass bottle that fits the size and style you want for your lamp. You can use wine bottles, mason jars, or even vintage glass soda bottles for a quirky look. Clean the bottle thoroughly and remove any labels or stickers.
- Drill the Hole: Using a drill with a glass bit, carefully drill a hole into the bottle to fit the lamp kit’s cord and socket. This hole should be at the bottom or side of the bottle, depending on your design. Be sure to drill slowly to avoid cracking the glass.
- Smooth the Edges: Once the hole is drilled, use sandpaper or a glass file to smooth out any sharp edges. This ensures that the wiring won’t be damaged and that the lamp is safe to use.
- Assemble the Lamp: Insert the lamp kit’s socket through the hole in the bottle and secure it in place according to the kit’s instructions. You can use the bottle itself as the lamp base, or you can attach the bottle to a separate base if you prefer.
- Add the Lamp Shade: Finally, add a lamp shade that complements the bottle design. A simple drum shade works well with most glass bottles, but you can also get creative with more eclectic or vintage styles.
Once your lamp is assembled, simply screw in the light bulb, and your table lamp is ready to use. This upcycled glass bottle lamp is a stylish and eco-friendly addition to any room.
4. Creating Outdoor Lanterns from Glass Bottles
Glass bottles can also be transformed into charming outdoor lanterns that add a warm glow to your garden, patio, or balcony. These lanterns can be used to create a cozy ambiance for outdoor gatherings or to illuminate your backyard during the evening.
Materials Needed:
- Glass bottles (choose sturdy bottles that can handle outdoor conditions)
- String lights or LED tea lights
- Decorative twine, ribbon, or wire
- Drill with a glass bit (optional)
Steps:
- Select Your Bottles: Choose glass bottles that are sturdy enough to withstand outdoor conditions. Wine bottles or mason jars are perfect for this project. Clean the bottles and remove any labels or stickers.
- Add Lights: You can use string lights or LED tea lights inside the bottles to create a soft, flickering glow. If you want to create a more dramatic effect, consider using larger LED lights or even solar-powered lights for energy efficiency.
- Decorate the Bottles: Use twine, ribbon, or wire to decorate the bottles and add extra charm. You can wrap the bottles in twine for a rustic look or use wire to create handles so the lanterns can be hung from trees or hooks.
- Place the Bottles: Once your bottles are decorated and lit, place them in your outdoor space. You can scatter them around the garden, hang them from tree branches, or line your patio to create a magical atmosphere.
These upcycled outdoor lanterns are a beautiful and eco-friendly way to add lighting to your garden or patio.
Conclusion
Upcycling glass bottles into chic light fixtures is an affordable, creative, and eco-friendly way to add unique lighting to your home. Whether you’re creating pendant lights, chandeliers, table lamps, or outdoor lanterns, glass bottles offer endless possibilities for customization and design. Not only will these DIY light fixtures bring warmth and personality to your space, but they will also help you reduce waste and embrace a sustainable lifestyle. So, next time you have an empty glass bottle, consider transforming it into a stunning light fixture for your home!